今天要來以 iT 邦幫忙的鐵人賽檔案當作開發範例啦!
首先我們先來看看正版的鐵人賽檔案長什麼樣子:
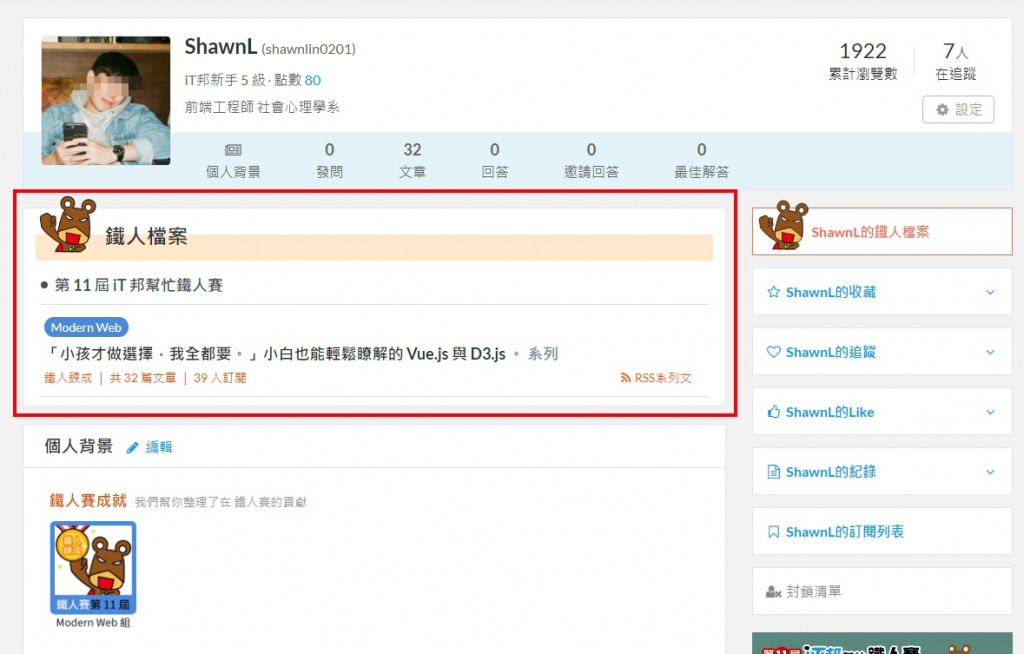
忽略左上角之後,我們可以看到下方的這個區塊非常適合來開發成一個元件,而這個元件要考慮到哪些地方呢?假如今天大雄有參與不同年度的鐵人賽,並且又報名不同組別等等,加上文章本身就會有標題、鐵人是否練成、發了幾篇文章、有多少人訂閱等等,有許多控制項目可以玩,我們挑選其中幾個項目之後,在這裡發揮我們工程師的技能
通靈!!!!!!
於是經過通靈之後,我們拿到了鐵人賽的 json 檔案格式:

好吧,其實是經過通靈之後,按我認為可能會拿到的 json 檔案格式(?
1
2
3
4
5
6
7
8
9
10
11
12
13
14
15
16
17
18
19
| [
{
irontitle: "第 11 屆 iT 邦幫忙鐵人賽",
articles: [
{
type: "Modern Web",
title:
"「小孩才做選擇,我全都要。」小白也能輕鬆瞭解的 Vue.js 與 D3.js 。",
href:
"https://ithelp.ithome.com.tw/users/20119062/ironman/2242",
info: {
success: true,
count: 32,
subscribe: 39
}
}
]
},
]
|
接下來我們就可以拿著這份檔案,把他塞進我們的 .vue 檔之中,假裝他是 AJAX 下來的資料:
1
2
3
4
5
6
7
8
9
10
11
12
13
| <script>
export default {
name: "articleBoard",
data() {
return {
json: {
}
};
}
};
</script>
|
如此一來該單一元件檔就擁有了這份通靈的資料了。
而接著在塞資料進去之前,我們可以先刻好一個寫死的元件畫面:
在 template 的部分中,先把元件該要有的結構劃分清楚,否則後面透過 v-for 塞資料進去時,會容易跑版:
1
2
3
4
5
6
7
8
9
10
11
12
13
14
15
16
17
18
19
20
21
22
23
24
| <template>
<section class="board-wrapper">
<div class="board-header">
<div class="header-title">鐵人檔案</div>
<div class="header-deco"></div>
</div>
<ul class="board-body">
<li>
<article class="article-wrapper">
<div class="article-year">第 11 屆 iT 邦幫忙鐵人賽</div>
<div class="article-body">
<a class="article-type">Modern Web</a>
<a
class="article-title"
href="https://ithelp.ithome.com.tw/users/20119062/ironman/2242"
>「小孩才做選擇,我全都要。」小白也能輕鬆瞭解的 Vue.js 與 D3.js 。 系列</a>
<p class="article-info">鐵人鍊成 | 共 32 篇文章 | 39 人訂閱</p>
</div>
</article>
</li>
</ul>
<div class="board-footer"></div>
</section>
</template>
|
樣式的部分直接以 SCSS 寫好寫滿,命名的話我自己是比較喜歡 SMACSS 與 OOCSS 的味道,而當許多元件都會用到共用的 CSS 時,可以自己建立共用的 SCSS,放在 /src/assets/scss/ 中,透過主要 SCSS 檔案 style.scss 引入其他設定的 SCSS:
style.scss
_basic.scss
1
2
3
4
5
6
7
8
9
10
11
12
13
14
15
16
17
18
19
20
21
22
23
24
25
26
27
28
29
| *{
box-sizing: border-box;
}
html,
body {
margin: 0;
padding: 0;
font-family: "Noto Sans TC", sans-serif;
background:#F2F2F2;
}
ul {
margin: 0;
padding: 0;
}
li {
list-style-type: none;
}
a {
color: inherit;
text-decoration: none;
}
p {
margin: 0;
}
.page {
max-width: 1140px;
width: 100%;
margin: 48px auto 0;
}
|
最後在單一元件檔要使用共用 SCSS 檔案時就可以透過 import 直接引入主要的 SCSS 檔案:
1
2
3
4
5
6
7
8
9
10
11
12
13
14
15
16
17
18
19
20
21
22
23
24
25
26
27
28
29
30
31
32
33
34
35
36
37
38
39
40
41
42
43
44
45
46
47
48
49
50
51
52
53
54
55
56
57
58
59
60
61
62
63
64
65
66
67
68
69
70
71
72
73
74
75
76
| <style scoped lang="scss">
@import "@/assets/scss/style.scss";
.board-wrapper {
margin: 20px auto;
max-width: 1140px;
border: 1px solid
background:
.board-header {
padding: 14px 30px;
z-index: 1;
.header-title {
font-size: 24px;
padding-left: 24px;
}
.header-deco {
background:
width: 100%;
height: 30px;
margin-top: -19px;
}
}
.board-body {
padding: 0 30px 14px;
.article-wrapper {
.article-year {
position: relative;
padding: 8px 24px;
border-bottom: 1px solid
color:
font-size: 18px;
&::before {
position: absolute;
top: 18px;
left: 10px;
content: "";
width: 8px;
height: 8px;
background:
border-radius: 50px;
}
}
.article-body {
padding: 12px 4px;
border-bottom: 1px solid
.article-type {
margin-bottom: 6px;
padding: 2px 8px;
border-radius: 20px;
background:
font-weight: lighter;
font-size: 14px;
color:
cursor: pointer;
}
.article-title {
display: block;
margin: 6px 0;
color:
font-size: 18px;
font-weight: bold;
transition: 0.3s;
cursor: pointer;
&:hover {
color:
}
}
.article-info {
color:
font-size: 14px;
font-weight: lighter;
}
}
}
}
}
</style>
|
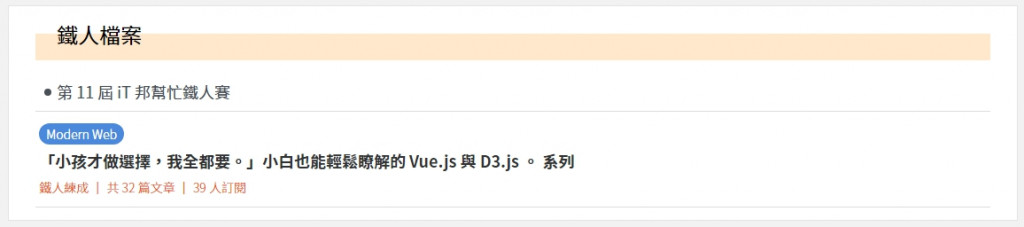
最後結果顯示,我自己是覺得刻的還可以啦:

接下來呢我們就要將這個已經刻好的版面來挖洞塞值進去 template 裡面!
1
2
3
4
5
6
7
8
9
10
11
12
13
14
15
16
17
18
19
20
21
22
23
| <template>
<section class="board-wrapper">
<div class="board-header">
<div class="header-title">鐵人檔案</div>
<div class="header-deco"></div>
</div>
<ul class="board-body">
<li v-for="(year,index) in this.json" :key="index">
<article class="article-wrapper">
<div class="article-year">{{ year.irontitle }}</div>
<div class="article-body" v-for="(articles,index) in year.articles" :key="index">
<a class="article-type">{{ articles.type }}</a>
<a class="article-title" :href="articles.href">{{ articles.title }} 系列</a>
<p
class="article-info"
>{{ articles.info.success ? '鐵人練成' : '鐵人未練成' }} | 共 {{ articles.info.count }} 篇文章 | {{ articles.info.subscribe }} 人訂閱</p>
</div>
</article>
</li>
</ul>
<div class="board-footer"></div>
</section>
</template>
|
完成之後就會看到畫面……
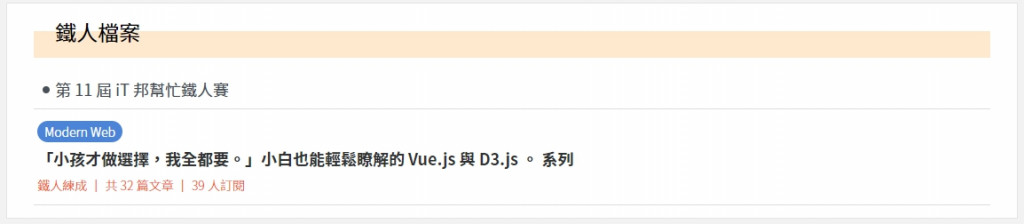
還是一樣!
但不一樣的事情是裡面的數值是由資料所供應的,因此面板上的東西會隨著資料而有所變動!
現在來模擬一下假如大雄去年也有參加鐵人賽,因此資料庫回傳的 JSON 檔案變成下面這樣:
1
2
3
4
5
6
7
8
9
10
11
12
13
14
15
16
17
18
19
20
21
22
23
24
25
26
27
28
29
30
31
32
33
34
35
36
37
38
39
40
41
42
43
44
| [
{
irontitle: "第 11 屆 iT 邦幫忙鐵人賽",
articles: [
{
type: "Modern Web",
title:
"「小孩才做選擇,我全都要。」小白也能輕鬆瞭解的 Vue.js 與 D3.js 。",
href:
"https://ithelp.ithome.com.tw/users/20119062/ironman/2242",
info: {
success: true,
count: 32,
subscribe: 39
}
}
]
},
{
irontitle: "2019 邦幫忙鐵人賽",
articles: [
{
type: "自我挑戰",
title: "挑戰連續三十天喝不同家手搖飲。",
href: "",
info: {
success: false,
count: 29,
subscribe: 512
}
},
{
type: "自我挑戰",
title: "連續三十天發廢文。",
href: "",
info: {
success: true,
count: 999,
subscribe: 87
}
},
]
}
]
|
而依照 Vue.js 核心概念以資料驅動視覺,最後元件就會依其資料產生對應的視覺出來:
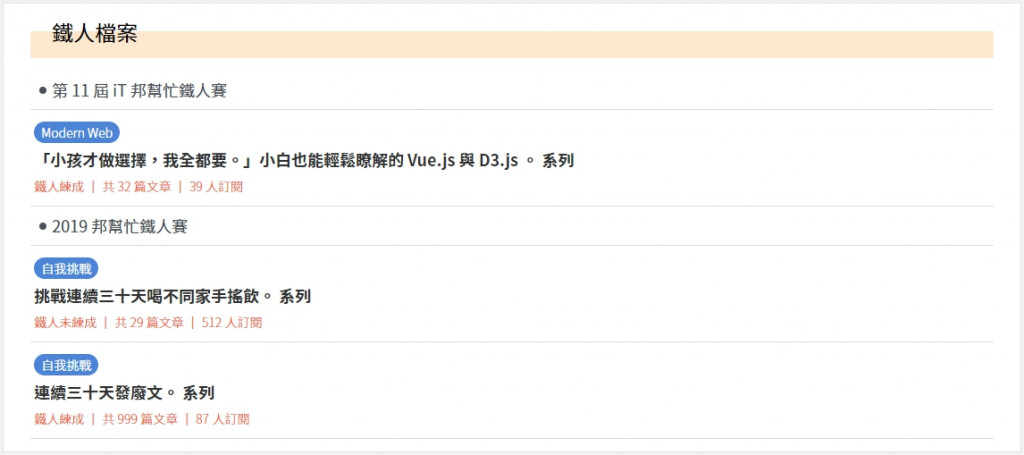
這樣就完成半個元件啦!

還記得我們元件最初的資料傳遞概念嗎?明天我們將會以 props 的方式傳遞資料進去,讓這個元件成為真正可以復用的元件!
最近翻著阿橘一年前的照片發現阿橘變胖好多,那時候大概才現在的一半大小吧…(?
