0%

vitest-logo

本文序

昨天我們提到了 Gerard Meszaros 的五大測試替身概念,釐清我們要在什麼時機下使用何種測試替身來幫助測試案例流程能更加順利,並帶了一點與測試替身相關的語法。

而今天要來詳細談談 Vue Test Utils 工具中有關於測試替身的相關語法有哪些,並思考以五大測試替身的概念去思考其中的應用場景。

Vue Test Utils 的測試替身

在 Vue Test Utils 工具中的測試替身,大部分都是在協助有關於替換元件渲染以及替換 <slot>stub 類型的測試替身:

shallowMount

第一個不得不提的就是我們熟悉的 shallowMount 元件容器(Wrapper),在前面章節有提過,若我們不使用 mount 而是改由 shallowMount 容器來渲染元件的話:

App.vue

1
2
3
<div>
<ChildComponent />
</div>
1
2
import component from 'App.vue'
const wrapper = shallowMount(component)

那麼上方的 wrapper 渲染結果將會變成:

1
2
3
<div>
<child-component-stub></child-component-stub>
</div>

這麼一來我們就可以測試有關 App.vue 元件本身的行為。

shallow

接下來是同樣概念的 shallow,只是差在使用方法是透過 mount 元件容器的第二參數帶上 { shallow: true }

App.vue

1
2
3
<div>
<ChildComponent />
</div>
1
2
3
4
import component from 'App.vue'
const wrapper = mount(component, {
shallow: true,
})

wrapper 將會渲染成:

1
2
3
<div>
<child-component-stub></child-component-stub>
</div>

global.renderStubDefaultSlot

renderStubDefaultSlot 使用場景比較特別,他主要是用來指定是否強迫渲染 slot 內容,即使是在 shallow 元件的時候:

App.vue

1
2
3
4
<div>
<slot></slot>
<Child-Component />
</div>
1
2
3
4
5
6
7
8
9
10
import component from 'App.vue'
const wrapper = mount(component, {
shallow: true,
slots: {
default: '<p>force render this!</p>'
},
global: {
renderStubDefaultSlot: true
}
})

以上方為例最後 wrapper 會變成:

1
2
3
4
<div>
<p>force render this!</p>
<child-component-stub></child-component-stub>
</div>

但官方也特別強調由於技術限制的關係,renderStubDefaultSlot 語法暫時只支援預設插槽(Default Slots)能被指定渲染。

global.stubs

前面有稍微提到的 global.stubs,最主要是用來指定子元件渲染成 <-stub> 元件或特定 template 的方法:

App.vue

1
2
3
<div>
<ChildComponent />
</div>
1
2
3
4
5
6
7
8
9
10
11
12
13
14
15
16
17
18
19
20
21
22
23
24
25
import component from 'App.vue'

it('should be render...', () => {
const wrapper = mount(component, {
global: {
stubs: { ChildComponent: true },
}
})
expect(wrapper.html()).toEqual('<div><child-component-stub></child-component-stub></div>')
})

it('should be render...', () => {
const wrapper = mount(component, {
global: {
stubs: {
ChildComponent:
{
name: 'StubComponent',
template: '<p>custom content</p>'
}
},
}
})
expect(wrapper.html()).toEqual('<div><p>custom content</p></div>')
})

現在我們就可以針對 stub 後的結果開始斷言啦!

有沒有覺得看到 Stub 術語就有種親切感呢!

global.mock

最後一個 global.mock 主要是用來替身 Vue 開發時常用到的 Router 或 Store 周邊工具庫的語法:

App.vue

1
2
3
4
5
6
7
8
9
10
11
12
13
<template>
<button data-test="button" @click="handleOnClickButton">Add 1 to Store</button>
</template>

<script>
export default {
methods: {
handleOnClickButton() {
this.$store.dispatch('add')
}
}
}
</script>

這時我們可以在測試案例中替身(mock)掉原先 store 的方法,甚至仿照出一個新的 store

1
2
3
4
5
6
7
8
9
10
11
12
13
14
15
import component from 'App.vue'

it('should be mocked', async () => {
const $store = {
dispatch: vi.fn(), // Vitest 中用來記錄用的函式
}
const wrapper = mount(component, {
global: {
mocks: { $store }
}
})
await wrapper.find('[data-test="button"]').trigger('click)

epxect($store.dispatch).toHaveBeenCalled() // 確認 `dispatch` 有被呼叫
})

如此一來我們就可以捕捉原先受測物(SUT)想要對依賴物(DOC)做的事情,是否如我們預期,這也就是昨天測試替身中 Mock 類型想要做的事情!


以上主要是 Vue Test Utils 中有關測試替身的 API,而明天我們將要來繼續介紹在 Vitest 中有哪些測試替身囉!

結果昨天還在說最近變天有點小感冒,今天眼睛就馬上紅腫RRRRRR⋯⋯
還好休息一下吃個 B 群什麼的有稍微好一點
決定先把 Vue Test Utils 的部分寫好,明天繼續再戰!!!

vitest-logo

本文序

目前有關測試相關文章幾乎都會提及的 測試替身(Test Double) 一詞,主要可追溯自 Gerard Meszaros 於 2007 年所寫的《xUnit Test Patterns》

在書中的測試替身模式(Test Double Patterns)章節裡。作者詳細描述測試替身在做的事情,並根據測試替身所模擬的環節再進一步細分出五種不同測試替身各自能做的事情,而本文主要將參照該書中所提及的內容,以前端測試的角度來詮釋測試替身的概念。

閱讀全文 »

vitest-logo

本文序

回顧第一次測驗內容,我們已經學會如何利用測試情境與案例(describe, it)的語法並參考測試路徑(test path)寫出基本的測試結構,最後也使用了對應的測試 Matcher 來做最後的斷言(Assertion)。

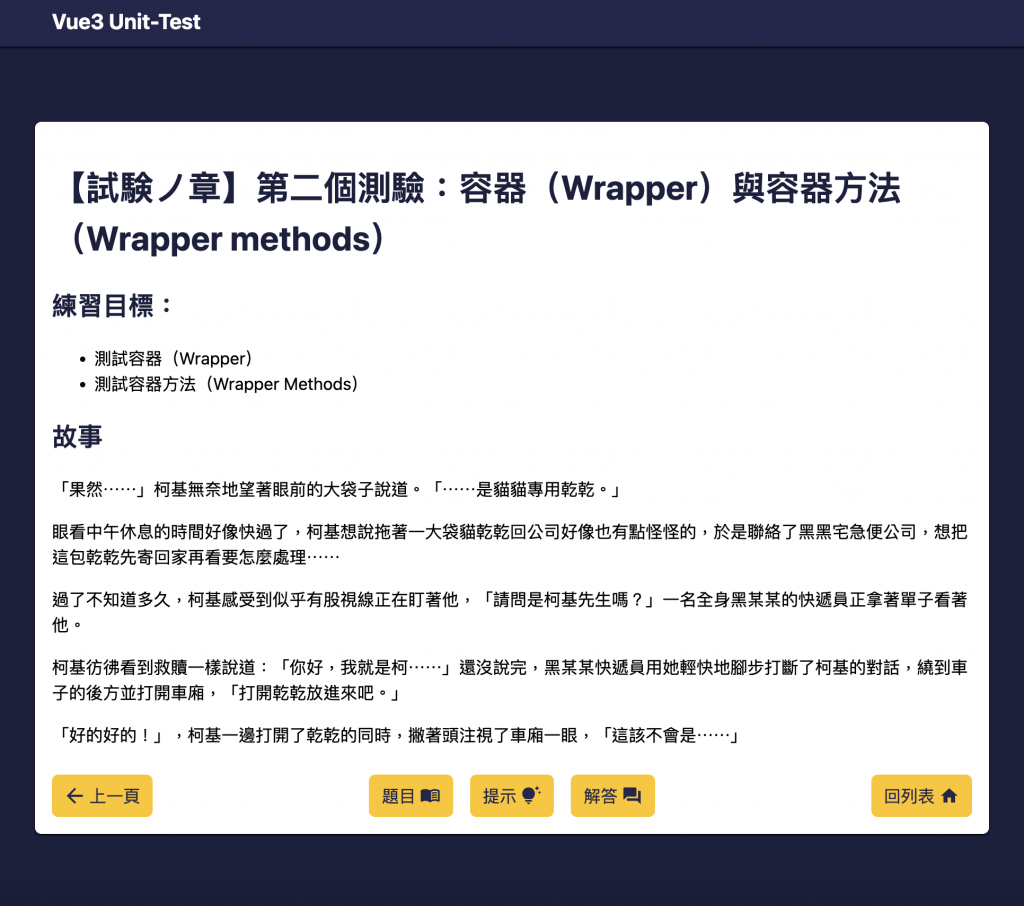
而第二次測驗將著重在學習容器(Wrapper)中要怎麼透過容器方法(Wrapper methods)與透過容器函式的第二個參數來模擬各種元件中的內容。

另外,我們今天使用的測試檔案要接續先前第一次測驗中完成的檔案來進行測試!

同樣的測驗章節我們將會做以下的流程:

  • 閱讀故事與題目,釐清需求與規則。
  • 規劃測試情境與測試案例,並列好描述的部分。
  • 撰寫測試程式碼(Testing Code),並執行測試時得到測試案例失敗。
  • 按照題目要求完成產品程式碼(Production Code)
  • 再次執行測試確保測試通過。

本文一樣可利用系列文專案來一邊學習,幫你準備好測試所需要的環境,快來安裝吧!

https://ithelp.ithome.com.tw/upload/images/20221010/20119062IVcelQZ7d1.png

閱讀全文 »

vitest-logo

slots

在開發的過程中,有時候我們可能為了畫面上的彈性,會在元件中透過 <slot> 讓父層來決定要填入什麼內容。

而在針對 slots 撰寫測試時,要注意的地方有:

  • slots 至少會有預設未傳入的狀態與傳入資料後的狀態兩種,斷言時應該至少包含這兩種狀態。
  • slots 行為作為案例斷言時,斷言內容要專注在 slots 所影響範圍內,否則可能會受其他因素干擾。
閱讀全文 »

vitest-logo

容器方法(Wrapper methods)

到目前為止容器方法的部分我們已經學到如何選擇目標與取得目標屬性等相關資料後,今天我們要著重學習如何模擬觸發 DOM 所發生的各種事件(Event),而常見的 DOM 事件有下列幾種:

  • 滑鼠事件:點擊(click)
  • 鍵盤事件:按下某鍵(keydown)、鬆開某鍵(keyup)
  • 表單事件:針對 <input> 輸入內容、checkboxradio 勾選或 <select> 中的選擇內容。
閱讀全文 »

vitest-logo

容器方法(Wrapper methods)

元件經由容器(Wrapper)包裝後,我們就能在測試案例中透過容器方法(Wrapper methods)來測試各種跟元件有關的資訊,而昨天我們主要介紹到了要如何選定到特定的元素、元件,接著介紹了判斷目標物是否「存在(exists)」與是否「顯示(isVisible)」等相關方法。

今天我們主要來介紹其餘有關資訊的部分:

  • 取得屬性(attribute)
  • 取得內容物(content)
閱讀全文 »

vitest-logo

容器方法(Wrapper methods)

在進行測試時,前面章節有提到我們會使用 mountshallowMount 來包裹元件,從而得到一個 VueWrapper,而在這個 VueWrapper 裡頭有許多實用的容器方法(Wrapper methods),雖然官方文件中並沒有特意分類,但大意上可分為幾種方法:

  • 查詢、選擇指定的元素、元件等選擇器
  • 取得目標屬性或內容(class, attribute)
  • 觸發 DOM 事件(如滑鼠點擊、鍵盤輸入與按鍵⋯⋯等)
  • 取得 emit 事件、設置 data 或 prop、甚至觸發元件 unmmount 等 Vue API 相關的方法

而今天要著重在於介紹選擇器的方法使用與測試應用,最後補上相關的討論:

  • 元素、元件選擇器
  • 判斷目標是否存在:existsisVisible
  • 使用 data-* attribute
閱讀全文 »

vitest-logo

容器(Wrapper)

mount

當我們需要在測試案例中引入元件時,我們可以透過 Vue Test Utils 提供的方法 mount 來包裹 Vue 元件。而 mount 所返回的內容除了 Vue 實體之外,還包含了一些方法(Wrapper methods)可以讓我們操作元件:

1
2
3
4
5
6
7
8
9
10
11
12
import component from '@/component/BaseButton.vue'

it('should emit clicked event after clicking button', () => {
// Arrange
const wrapper = mount(component)

// Act
wrapper.trigger('click')

// Assert
export(wrapper.emitted()).toHaveProperty('clicked')
})
閱讀全文 »